


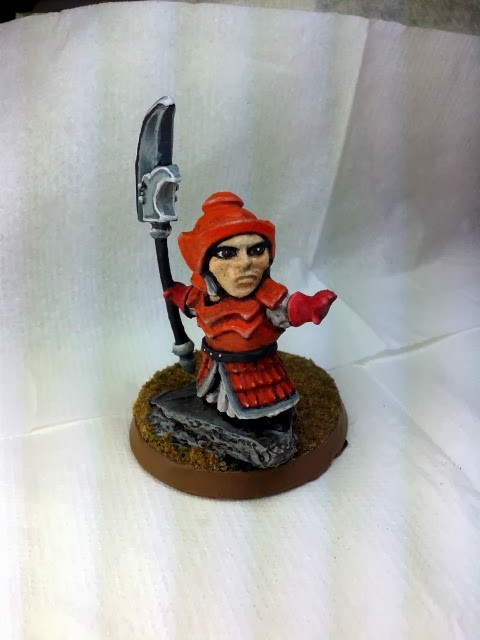
And with a self-imposed deadline looming, I woke up early before anyone in the house did and finished up this little fella. All that remains is to do the basing and varnishing.


And I have finished painting one side of the halberd. Other than the painting not being of the ultimate smooth kind, I am quite pleased with my efforts. Time to paint the other side of the halberd.

Not too much to report since the going has been slow. I am still thinking about how to paint the trim of the skirt and the belt, but a large part of one side of the halberd is done:

So the test casts for the latest chibi miniature I sculpted has come back and been sent out to some friends to help with painting them and giving me some feedback.
I've kept a copy for myself and am halfway thru painting it. Here is what it looks like so far:

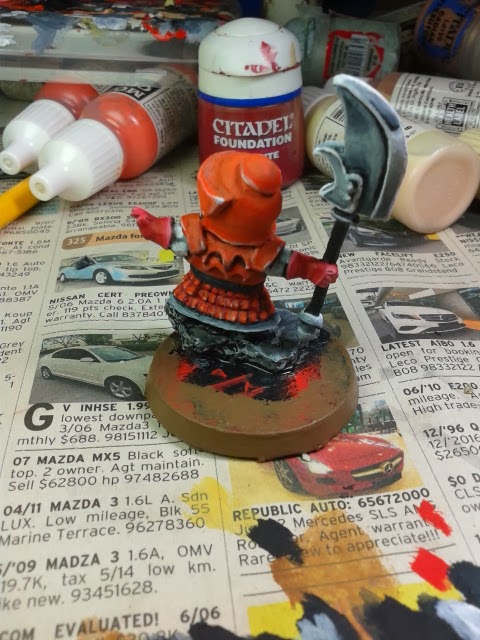
Ok I have gone over the mini and refined the back armor. Ready for the molding process now!

Ok so the hands are done and the process is almost complete! The whole mini has been sculpted and now I can do the final checking and refinements where needed. Here it is, pre-final adjustments...


Work on the halberd is almost complete. I just need to sand down the parts that are uneven and it is done. Next up, hands to connect the weapon to its owner.
I have also added a mock up of what the completed sculpt might look like, with the help of some blu tack.


 |
| Yes, my previous job was a traffic policeman... |


So, I have started on a new project! This project is going to be a clearly defined one, with a set number of miniatures to produce. Now, the question is of course, why did I start a new sculpt while in the middle of another? Well, a few reasons, actually.
Firstly, epoxy putty takes time to cure, so most sculptors using the material have more than one sculpt going at a time.
Secondly, I have always liked the chibi style, especially the super deformed (SD) proportions. It was just that I couldn't think of what to sculpt. Then I thought about the games I would like to play with my children and realised that Xiang Qi or chinese chess would certainly be one of them.
Finally, I have heard how polymer clay is a wonderful material to wprk with and have always wanted to try it.
So this is a prime opportunity for me to work on this project. It will consist of 8 sculpts as there are 8 different types of pieces in chinese chess. It should have enough variety to keep me interested and enough work to exercise determination to finish. The reward at the end of it should be satisfying as I will get to play Xiang Qi with my kids eventually.
First thoughts on polymer clay...
It doesn't stick to armatures!?! I had to superglue a thin layer of clay to the armature before starting work on it. But clay blends into itself well and once the initial layer of clay sticks to the armature, it has been a pleasure working with it.
It is a little different from working with epoxy putty, but the fundamentals of sculpting still apply. I find the greatest advantage clay offers is the infinite work time. Before baking, clay can be reworked and reworked. This helps when attempting to create symmetry without adding more material, which tends to happen for putty. Suffice to say, I am quitr happy playing with the new material.
So here are the humble beginnings:
More about it soon!


